To manage a newsletter pop-up on Shopify, go to Online Store > Themes > Customize, find the newsletter or email capture section in your theme editor, and either disable it or adjust its timing. If the pop-up comes from a third-party app, open the app's settings and toggle it off from there. This guide covers how to add, customize, and remove Shopify newsletter pop-ups, plus how to control popup timing without removing them entirely.
Where Do Shopify Newsletter Pop-ups Come From?
Before disabling anything, it helps to know what is generating the pop-up. Shopify newsletter pop-ups come from two places:
- Built into the theme: Shopify's default theme (Dawn) and most premium themes include an email capture pop-up that can be turned on or off in the theme customizer. This is the easiest to control.
- Third-party apps: Apps like Klaviyo, Privy, Justuno, Omnisend, and similar email marketing tools often install their own pop-up overlays. These are controlled through the app, not through the theme customizer.
If you disable the pop-up in the theme editor and it reappears, a third-party app is responsible. Check your installed apps under Apps in your Shopify admin.
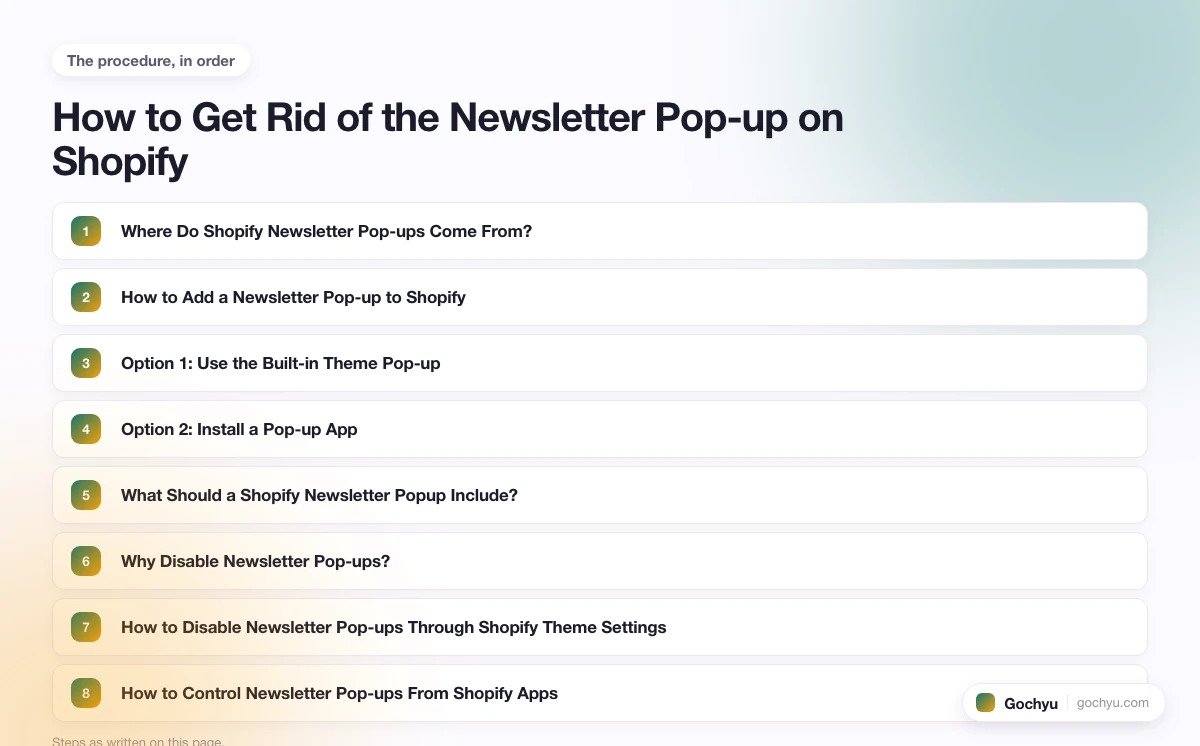
How to Add a Newsletter Pop-up to Shopify
If you don't yet have a newsletter pop-up and want to add one, you have two options:
Option 1: Use the Built-in Theme Pop-up
- Go to Online Store > Themes > Customize.
- In the left sidebar, click Add section and look for Email signup popup or Newsletter popup. In Dawn, this is listed under Sections > Email signup popup.
- Configure the delay, message, and button text.
- Click Save.
Option 2: Install a Pop-up App
Third-party apps offer significantly more control over targeting, design, and timing than built-in theme pop-ups. The most widely used options:
- Klaviyo: The most popular email and SMS platform for Shopify. Includes exit-intent targeting, page-level rules, cart-value conditions, and A/B testing. Free up to 250 contacts.
- Privy: Strong for pop-ups and spin-to-win forms. Free plan available with basic targeting options.
- JustUno: Advanced targeting with A/B testing and analytics. Both free and paid plans available.
- Omnisend: Combines email, SMS, and pop-ups in one platform, with a generous free tier.
What Should a Shopify Newsletter Popup Include?
A newsletter pop-up only works if it gives visitors a clear reason to hand over their email address. The single biggest driver of opt-in rates is a concrete offer: a percentage discount (10% off is the most common), free shipping on the first order, or access to content such as a buying guide or size chart. Generic "join our newsletter" copy consistently underperforms because it gives the visitor no immediate benefit. If you're going to interrupt someone's browsing session, the offer needs to be worth the interruption.
Keep the form itself as simple as possible. Asking for a first name alongside an email address can reduce conversions by 20% or more, and adding a phone number field drops them further still. A single email field with a clearly labeled submit button is the standard for a reason. Once someone is on your list, you can collect more information through preference centers and post-purchase flows.
The pop-up should also tell subscribers exactly what they're signing up for. "Get 10% off your first order" is a clear benefit statement. "Subscribe for updates" tells them nothing useful. Underneath the submit button, add a short line like "No spam. Unsubscribe anytime." This single sentence reduces hesitation, particularly for new visitors who don't yet trust the brand.
Finally, make the close button easy to find and click. A tiny X in the corner that's hard to tap on mobile creates frustration, and frustrated visitors leave. A visible, easy-to-tap dismiss option actually increases the odds that the visitor stays on the page after closing the pop-up, giving you another chance to convert them through the product itself.
Why Disable Newsletter Pop-ups?
There are several valid reasons to disable or modify Shopify newsletter pop-ups:
- Interruption of user experience: Pop-ups that trigger immediately on arrival are the most disruptive. Studies show that pop-ups appearing within the first 5 seconds of a visit can increase bounce rates by 10-15%.
- Decreased conversion rates: A pop-up appearing before a user has browsed any products interrupts the consideration phase. Exit-intent pop-ups (triggered when the cursor moves toward the browser close button) convert at 2-4x the rate of entry pop-ups while causing far less friction.
- Mobile experience problems: Pop-ups that aren't optimized for small screens cover the entire viewport and are difficult to close. Google's mobile usability guidelines specifically penalize intrusive interstitials.
- GDPR compliance: In the EU, email collection without explicit consent is a legal issue. Pop-ups must include a clear opt-in mechanism and cannot pre-check consent boxes.
- Returning subscribers see the same pop-up repeatedly: Customers who are already on your email list will keep seeing the newsletter pop-up every time they visit, unless the app is configured to suppress it for known contacts. Most major pop-up apps (Klaviyo, Privy, Omnisend) include a setting to hide the form for existing subscribers. Check your app's targeting or audience rules and enable suppression for anyone already in your list.
- Pop-up fatigue from multiple active tools: If you've installed several email marketing or conversion apps, it's possible that more than one of them has an active pop-up running at the same time. Visitors then see stacked overlays in quick succession, which creates a poor first impression and typically leads to an immediate exit. Audit your installed apps under Apps in your Shopify admin and make sure only one pop-up is active at any given time. Disable or remove the pop-up function from any secondary apps you aren't using for that purpose.
How to Disable Newsletter Pop-ups Through Shopify Theme Settings
For pop-ups built into your theme:
- Log in to your Shopify admin and go to Online Store > Themes.
- Click Customize next to your active theme.
- Look for a section called Email signup popup, Newsletter popup, or Announcement in the left sidebar. In Shopify's Dawn theme, this is listed under Sections > Email signup popup.
- Toggle the popup off or delete the section entirely.
- Alternatively, change the trigger delay to a longer value (e.g., 30 seconds instead of 5) to reduce intrusiveness without removing the feature.
- Click Save.
If you can't find a popup section, your theme may not have one, meaning the popup is coming from an app.
How to Control Newsletter Pop-ups From Shopify Apps
If the pop-up is generated by a third-party email app, manage it from within that app's settings:
- Go to Apps in your Shopify admin and identify which email marketing or pop-up app is installed.
- Open the app and navigate to its Pop-up or Forms settings section.
- Toggle the pop-up off, or adjust timing settings (delay, scroll percentage, or exit intent trigger).
- For apps like Klaviyo: go to Forms, find the active pop-up form, and either unpublish it or adjust its display rules.
- For apps like Privy: go to Campaigns, find the newsletter pop-up campaign, and pause or delete it.
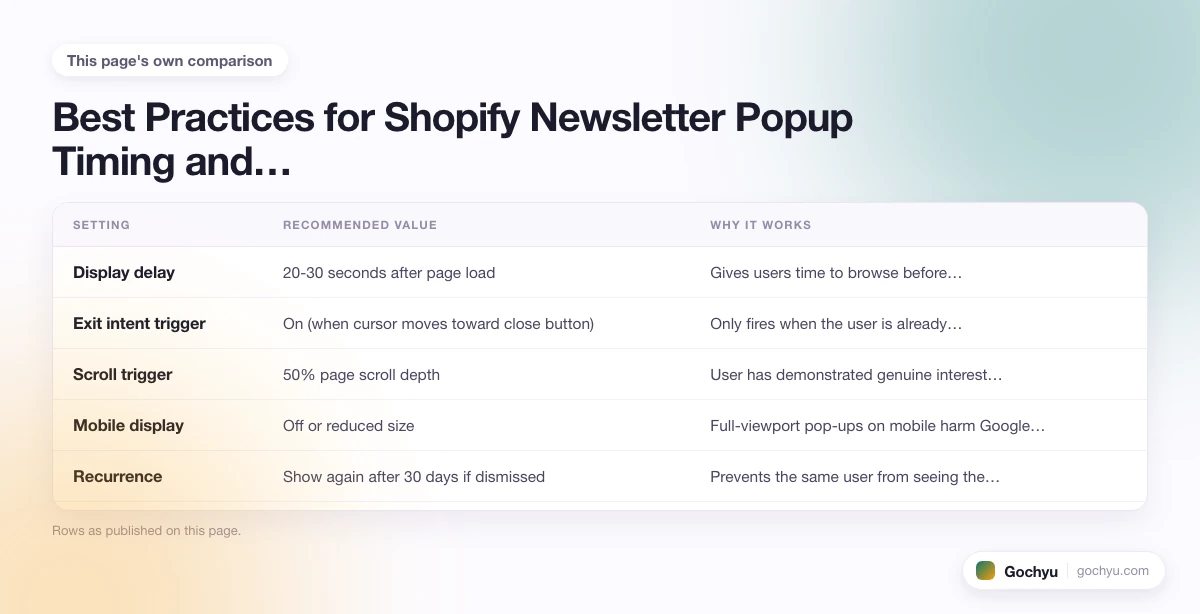
Best Practices for Shopify Newsletter Popup Timing and Targeting
Before removing a pop-up entirely, consider whether adjusting it would solve the problem. These settings consistently improve popup performance while reducing user complaints:
| Setting | Recommended Value | Why It Works |
|---|---|---|
| Display delay | 20-30 seconds after page load | Gives users time to browse before interrupting. Reduces immediate bounce rate. |
| Exit intent trigger | On (when cursor moves toward close button) | Only fires when the user is already leaving. Converts 2-4x better than entry pop-ups. |
| Scroll trigger | 50% page scroll depth | User has demonstrated genuine interest before the pop-up fires. |
| Mobile display | Off or reduced size | Full-viewport pop-ups on mobile harm Google mobile usability scores. |
| Recurrence | Show again after 30 days if dismissed | Prevents the same user from seeing the pop-up on every visit. |
| Page exclusions | Exclude checkout and cart pages | Pop-ups during checkout interrupt the purchase flow and reduce conversion rates. |
How to Edit Your Store's Code to Remove a Pop-up
If neither the theme customizer nor the app settings resolve the issue, you can remove the pop-up by editing your theme code directly:
- Log in to your Shopify admin and go to Online Store > Themes > Actions > Edit code.
- In the Sections folder, look for a file named something like
newsletter-popup.liquidoremail-capture.liquid. - You can either delete the file (if you're certain it's not used for anything else) or remove the render call for it from your
theme.liquidlayout file. - Click Save.
Only use this method if you are comfortable with Liquid templating. If you're unsure, use a developer instead of risking breaking other theme functionality.
Shopify Newsletter Popup Code: How to Add Custom HTML/Liquid
Most store owners manage newsletter pop-ups through the theme customizer or a third-party app. Custom code is only worth considering in specific situations: you need a pop-up design that no app can replicate, you want to avoid recurring app subscription fees, or you're building a custom theme from scratch and need the pop-up baked directly into the codebase. Outside those cases, an app is almost always the faster and safer path.
In Shopify's Liquid architecture, a newsletter pop-up is typically built as a theme section. A section is a self-contained .liquid file stored in the sections/ folder of your theme. It contains HTML markup, optional CSS scoped to the section, and a schema block that defines any settings the merchant can configure in the customizer. To display the section on every page, you add a {% render 'newsletter-popup' %} tag inside your theme.liquid layout file, just before the closing </body> tag. The basic structure of the section file looks like this:
{% comment %} sections/newsletter-popup.liquid {% endcomment %}
<div id="newsletter-popup" class="newsletter-popup" style="display:none;">
  <div class="newsletter-popup__inner">
    <button class="newsletter-popup__close" aria-label="Close">×</button>
    <h2>{{ section.settings.heading }}</h2>
    <p>{{ section.settings.subtext }}</p>
    {% form 'customer' %}
      <input type="email" name="contact[email]" placeholder="Your email" required>
      <button type="submit">{{ section.settings.button_label }}</button>
    {% endform %}
  </div>
</div>

{% schema %}
{
  "name": "Newsletter Popup",
  "settings": [
    { "type": "text", "id": "heading", "label": "Heading", "default": "Get 10% off your first order" },
    { "type": "text", "id": "subtext", "label": "Subtext", "default": "No spam. Unsubscribe anytime." },
    { "type": "text", "id": "button_label", "label": "Button label", "default": "Subscribe" }
  ]
}
{% endschema %}
You would then add JavaScript to handle the display timing (showing the pop-up after a delay or on exit intent) and the close button behavior. The {% form 'customer' %} tag submits to Shopify's built-in customer email subscription endpoint, so no external service is required for basic list collection. That said, this approach gives you none of the targeting, analytics, or automation features that apps like Klaviyo provide. See Shopify's developer documentation on theme sections for the full reference on schema settings, CSS/JS scoping, and section rendering.
Custom code also means you own all maintenance. When Shopify updates its theme API or a browser changes how it handles certain events, you'll need to update the code yourself. This is a real cost that app subscriptions effectively absorb for you. If you choose the custom route, keep the code minimal and test it on both desktop and mobile before publishing.
Hire a Developer
If you're not comfortable editing code yourself, Shopify maintains a list of approved Experts at shopify.com/partners. Freelancers on Upwork and Fiverr can handle this in under an hour for a minimal fee. It is a straightforward task for anyone with Shopify theme experience.
How to Get Rid of the Newsletter Pop-up on Shopify
Most Shopify newsletter pop-ups are either built into the theme (disable via Customize > Email signup popup section) or generated by an app (disable within the app's form settings). Editing theme code is a last resort and only necessary when neither approach works. If you want a pop-up that matches a very specific design or need to avoid app fees, you can build one directly in Liquid using a custom theme section. Before removing pop-ups entirely, consider adjusting their timing or trigger conditions. An exit-intent pop-up with a 20-second delay is far less disruptive and typically converts better than an immediate entry pop-up. Also check that only one pop-up app is active at a time, and that returning subscribers are suppressed from seeing the form again.
* read the rest of the post and open up an offer