You can start a Shopify store from zero to live in under a day if you know which decisions matter and which ones to skip for now. The fast version: sign up for the free trial, pick a free theme (Dawn is the safe default), add three to five products, turn on Shopify Payments, write your shipping and refund pages, hit launch. Everything else is a tweak you can make after your first sale.
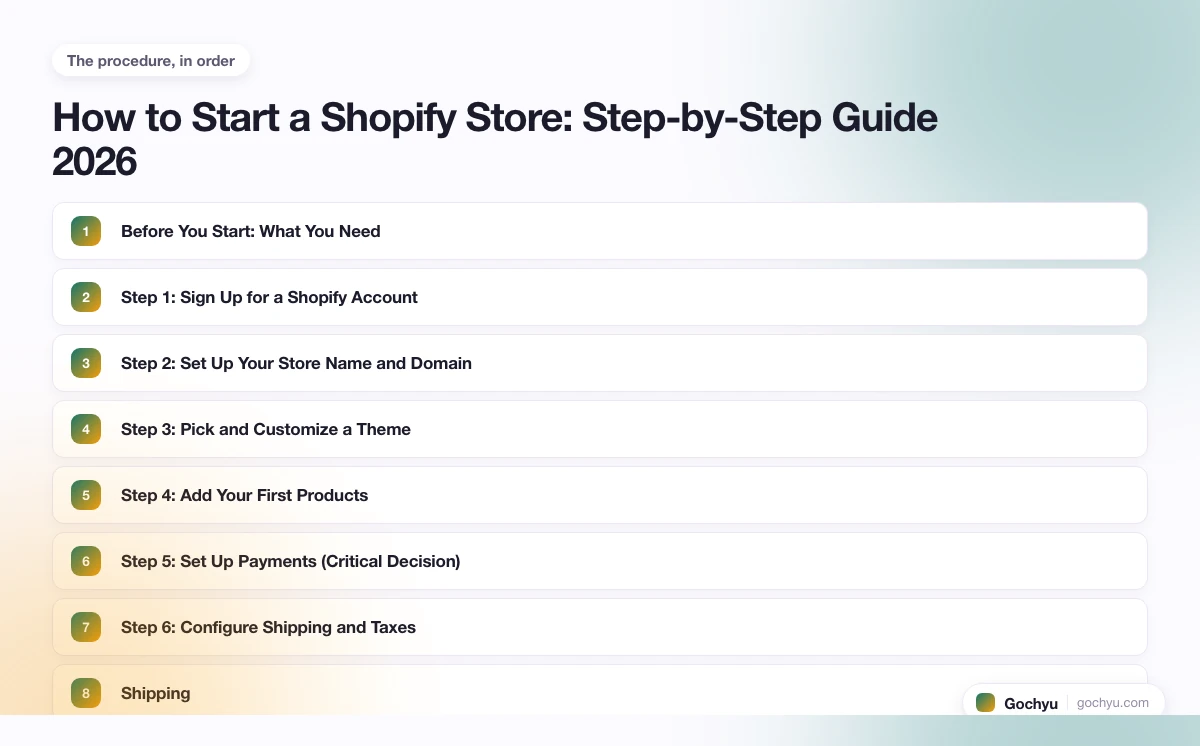
This step-by-step guide walks through the eight things that get a Shopify store actually open for business in 2026: signup with the current $1/month promotional rate, picking a name and domain, choosing a theme, adding products, configuring payments (the single most important setup decision), shipping and taxes, the four apps every new store actually needs, and a pre-launch checklist. Each step calls out what to do now versus what to defer until you have customers.
Before You Start: What You Need
Three things to have ready before you click sign-up, so you don'''t get stuck in the setup flow:
- A working business idea. What you'''re selling, who you'''re selling it to, and roughly why. You don'''t need a perfect brand yet, but you do need clarity on the product. If you haven'''t decided on a business model yet, our guide to starting an online business covers the six models with startup costs and time-to-first-sale for each.
- Product photos (or AI-generated placeholders). At least one decent shot per product. Photos can be improved later; you need something to populate the store at launch.
- Basic business info. Legal business name, business address (your home address is fine for a new store), and a tax number if your country requires one. Shopify needs this to issue receipts and report taxes.
What you do NOT need before starting: a perfect logo, a registered LLC, a final brand color palette, polished product descriptions, or a marketing plan. All of those get added or improved after the store is live. Many first-time founders over-prepare on branding and never launch. Get the store open first.
Step 1: Sign Up for a Shopify Account
Go to Shopify'''s signup page and click "Start free trial." Enter your email, create a password (use at least 12 characters; you can change your Shopify password any time from your account settings), and answer the three onboarding questions (what you'''re selling, where you'''re selling, whether you have an existing business). Shopify uses these answers to pre-configure your admin dashboard. Pick the most accurate options; you can change everything later.
The trial is 3 days with no credit card required. After day 3, you can extend to the $1/month promotional rate for three months by entering payment details. This is the cheapest possible path to a real, fully-functional Shopify store, you get the full platform for under $5 across the first three months of ownership. After month three, the standard rate applies based on the plan you picked (Basic at $29, Grow at $79, Advanced at $299). Most new stores start on Basic and only upgrade once monthly revenue justifies it.
Step 2: Set Up Your Store Name and Domain
Inside the admin, your first task is your store name (what shows up in the browser tab, on receipts, and in emails) and your domain (the URL customers visit). Shopify gives you a free {yourstore}.myshopify.com URL automatically, but that'''s not what you want on day one. Buy a real domain.
You have two options. Buy a domain through Shopify directly (around $14 per year, set up automatically) or buy it from Cloudflare Registrar / Namecheap / Porkbun ($9 to $11 per year, requires a 5-minute DNS update). The price difference is small, but Cloudflare Registrar charges at cost with no markup, so it'''s the cheapest long-term option. Either way, the setup runs through Settings, Domains in your Shopify admin.
For the store name itself, three rules: short, pronounceable, no hyphens or numbers if you can avoid them. Before settling on a name, it helps to work through a structured process to come up with a brand name that'''s legally available and built to last. A name you can spell out loud and have someone get right the first time will outperform a clever one with weird spelling.
Step 3: Pick and Customize a Theme
Shopify includes 13 free themes. Dawn is the modern reference theme: clean, fast, fully Online Store 2.0 (Shopify'''s current theme architecture), and good enough for almost every product type. Sense, Refresh, and Craft are alternative free themes that work for specific niches (Sense for wellness, Refresh for food and drink, Craft for handmade goods). For a new store, a free theme is the right answer. Don'''t spend $250 to $400 on a paid theme before you have customers. When you are ready to evaluate options more carefully, see our guide to choosing the right Shopify theme for a full breakdown of what separates good themes from bad ones.
If you want a closer look at the paid options once your store is established, our roundup of the best Shopify themes covers the paid themes worth considering, and the best free Shopify themes guide breaks down which of the 13 free options fits which kind of store. If you're building a single-product store, our picks of the best Shopify themes for one product stores cover the free and premium themes built around a hero product. If you're setting up a clothing store specifically, our guide to starting an online clothing business from home covers the sourcing, photography, and returns strategy decisions that are unique to apparel.
Customize the theme through the visual editor (Online Store, Themes, Customize). The minimum you should change before launch: upload your logo (PNG with transparent background, ideally), set the primary brand color, write the homepage hero text, and add three featured products to the homepage. Everything else (custom sections, advanced animations, footer rearrangement) can wait.
Step 4: Add Your First Products
Open Products in the admin and click Add product. For each one, fill in:
- Title and description. The title is what customers and search engines see first. Be specific: not "Blue Mug" but "12oz Hand-Glazed Blue Ceramic Coffee Mug." Write a distinct description for each product too; Shopify gives you the field, but it does not fill it in. Good descriptions also feed into Shopify's built-in SEO features, which include auto-generated sitemaps and canonical tags that give your products a better shot at search rankings.
- At least one photo, ideally three to five. Front, side, in-context lifestyle shot, packaging shot. Square 2048x2048px works on every theme.
- Price (and compare-at price if you want a "sale" strike-through). Set the real price; sale pricing is a marketing decision for later.
- Inventory and SKU. Track quantity if you'''re holding stock; skip it if you're dropshipping or print-on-demand. If you are still weighing whether dropshipping is still viable in 2026, that question is covered with real market data.
- Variants if applicable. Size, color, material. Variants share one product page but track inventory and price per variant.
- Product type and vendor. Used for collections and reporting. Examples: type "Drinkware," vendor "Your Brand Name."
Once you have products in your catalog, group them into Shopify collections so customers can browse by category in your navigation menu. If you sell across multiple product types, you can also set up Shopify sub-collections to create a multi-level category structure.
Three to five products is enough for launch. A new store with two well-photographed, well-described products will convert better than one with 50 thin product pages. Add more products after launch as you confirm what sells. One popular model for differentiation is branded dropshipping with print-on-demand, where your designs ship on products directly to customers without you holding inventory.
Step 5: Set Up Payments (Critical Decision)
Go to Settings, Payments. You'''ll see two main sections: Shopify Payments (the default) and Manual payment methods. The decision here has the biggest single impact on your monthly cost.
Use Shopify Payments if you'''re in a supported country. 23+ countries are supported: US, UK, Canada, Australia, most of EU, plus a growing list of others. Using Shopify Payments removes the third-party transaction fee entirely (0.2% to 2% depending on plan), which on $25k/month in sales is $250 to $500/month back in your pocket. It also activates Shop Pay and Shop App, the accelerated checkout that'''s faster and converts 15% better than generic checkouts for repeat shoppers. To enable: click "Activate Shopify Payments," enter your business and banking details, and you'''re live.
If Shopify Payments isn'''t supported in your country, your fallback is Stripe, PayPal, or a regional gateway. Shopify charges the third-party transaction fee on top of whatever the processor charges, but the fee is unavoidable when Shopify Payments isn'''t an option. Setup runs through the same Payments page. PayPal is the most popular third-party choice for stores in unsupported countries and for merchants who want to offer wallet checkout alongside Shopify Payments - see the full steps for integrating PayPal into Shopify if you want to add it. For the full breakdown of plan fees and processor costs, see our guide on how much Shopify costs.
One more thing worth knowing before you enter your banking details: Shopify is PCI DSS Level 1 certified and holds SOC 2 Type II attestation, the top standards for payment data security. For a full breakdown of Shopify's security certifications and what they mean for your store, see our security overview.
Step 6: Configure Shipping and Taxes
Shipping
Go to Settings, Shipping and delivery. Create at least one shipping zone (the geographic area you ship to) and one shipping rate (what customers pay). The fastest setup for a new store: one zone covering your home country, with two rates ("Standard" at a flat $5 to $10, and "Free shipping over $X" with X set just above your average order value). International shipping can wait until you confirm domestic demand.
If you'''re using Shopify Payments and want to print real shipping labels at discounted rates, Shopify Shipping (built into the platform) saves 15% to 88% off USPS, UPS, and DHL retail rates depending on your plan. No separate app needed.
Taxes
Settings, Taxes and duties. For US sellers, turn on automatic tax collection by entering your business address and any states where you have nexus (a tax obligation). Shopify calculates sales tax on each order automatically based on the customer'''s location and your nexus list. For most other countries, Shopify handles VAT or GST automatically once you enter your tax registration number.
If you'''re not sure whether you have tax nexus in any state outside your home state, you almost certainly don'''t yet. Nexus is usually triggered by hitting a specific revenue or transaction threshold (often $100k/year or 200 transactions) in a state. New stores rarely have nexus anywhere except their home state.
Step 7: Install the Essential Apps
Shopify'''s app ecosystem has 10,000+ apps, but you only need a handful for a new store. The four-app minimum:
- Email marketing. Klaviyo (free up to 250 contacts, scales with list size) or Shopify Email (free for the first 10k emails per month). Email is your highest-ROI channel; install it before launch. For a guide to the full range of marketing automation options on Shopify, including how to choose between Klaviyo, Omnisend, and Shopify Flow, see our dedicated guide.
- Product reviews. Judge.me (free tier available, $15/month for paid) or Yotpo (free under 500 monthly orders). Reviews on product pages lift conversion 15% to 20% over no-review pages.
- Abandoned cart recovery. Shopify includes basic abandoned-cart emails on every plan. For more sophisticated flows (post-purchase upsells, browse abandonment, win-back sequences), Klaviyo covers it once you'''re set up there.
- An upsell or bundle app. ReConvert or Vitals. Post-purchase upsells lift average order value 5% to 15% with one extra click for the customer.
Skip these for now (revisit once you have orders): loyalty programs, advanced search, subscription billing, currency converters and Shopify currency settings, complex shipping rules. They'''re useful, but they'''re not what blocks your first sale. Our list of the best Shopify apps for your store covers what to add as you scale.
Step 8: Pre-Launch Checklist and First Marketing Steps
Before you flip the store from password-protected to live, run through this list:
- All required pages exist. Contact, Shipping policy, Refund policy, Privacy policy, Terms of service. Shopify generates draft text for the legal pages automatically in Settings, Policies.
- Checkout works end-to-end. Place a test order using Shopify'''s Bogus payment gateway (Settings, Payments, Manual payment methods). Confirm the order email arrives.
- Mobile preview looks right. Open your store URL on your phone. Most ecommerce traffic is mobile; if it looks broken on a phone, fix it before launch.
- Domain is connected. Visit your custom domain (not the .myshopify.com one) and confirm it loads your store.
- Favicon is set. Settings, Customize theme. The default Shopify favicon makes your store look unfinished.
- Email autoresponders work. Order confirmation, shipping notification, and abandoned cart at minimum. Send yourself test versions. If you need to update the sender address, that is a separate setting -- see the guide on how to change your Shopify email address.
Once everything passes, go to Online Store, Preferences, Password protection and remove the password. Your store is live.
First marketing steps after launch: send an announcement email to your existing list (if you have one), post on every social channel you use, ask 5 to 10 people you trust to share the link, and turn on Google Shopping (if you sell physical products) for free product listings. Paid ads on Shopify can wait until you have at least 10 organic sales and you'''ve seen which products convert. Once you have that data, you can start using Shopify discount codes and automatic discounts to lift conversion on your best-performing products.
Common Issues and How to Fix Them
"Shopify Payments isn'''t available in my country"
Use Stripe, PayPal, or a regional payment processor instead. Shopify supports 100+ third-party gateways. The trade-off is that Shopify will charge the third-party transaction fee on each sale (2% on Basic, 1% on Grow, 0.6% on Advanced). The fee is unavoidable until Shopify Payments expands to your country.
"My theme looks great on desktop but broken on mobile"
The Dawn theme is mobile-first by default and rarely breaks. If you'''re using a third-party theme, mobile issues usually come from custom HTML or images sized too large. Fix the easy stuff first: in the theme editor, switch the preview to mobile and verify each section. Replace any image wider than 2048px with a smaller version.
"I can'''t connect my custom domain"
This is almost always a DNS issue. In your domain registrar'''s DNS panel, set an A record pointing to Shopify'''s IP (23.227.38.65) and a CNAME for the www subdomain pointing to shops.myshopify.com. DNS changes take 1 to 48 hours to propagate. If it'''s been more than two days and still doesn'''t work, contact Shopify support; they'''ll diagnose what'''s wrong.
"My first sale isn'''t showing the right tax / shipping"
Most often this means a zone or rate wasn'''t configured for the customer'''s location. Go to Settings, Shipping or Settings, Taxes and verify the customer'''s country/state is covered by an existing zone with a rate. Add it if missing.
Should You Use Shopify in the First Place?
This guide assumes you'''ve already decided Shopify is the right platform. If you'''re still weighing options against WooCommerce, Wix, or Squarespace, our review on whether Shopify is worth it covers who the platform actually fits, who should pick something else, and where the cost math breaks even at different revenue levels. For the Wix-specific head-to-head with pricing, fees, and migration costs, see our Shopify vs Wix comparison. For the design-first alternative, our Shopify vs Webflow comparison covers the product ceiling, the platform transaction fees, and when Webflow ecommerce is actually enough. If you are weighing your own Shopify store against selling on a marketplace, our Shopify vs Amazon comparison covers the fee math and the case for running both channels in parallel. And if you make handmade or craft goods, our Shopify vs Etsy comparison weighs the marketplace route against your own store. Worth a quick read before you commit, especially if you'''re not sure whether your product type is a Shopify fit.
Conclusion: Start a Shopify Store the Right Way
The fastest path to a live Shopify store is the boring path. Sign up using the $1/month promo, pick the free Dawn theme, add three to five products, turn on Shopify Payments, install four apps (email, reviews, abandoned cart, upsells), write your policy pages, and remove the password. That'''s a complete, sellable store in roughly four to six hours of work. Once you have those fundamentals in place, see our guide to proven Shopify sales strategies to grow revenue from the traffic you earn. Polish, paid themes, advanced apps, and the perfect logo all come after your first ten orders, not before. If you'''re ready to start, you can sign up for the current Shopify promo here and have a working storefront before the end of the day. For the full cost breakdown of running a store past the first three months, see our guide on how much Shopify costs. If you have not yet committed to Shopify and want to compare it against alternatives first, our guide on how to choose the right ecommerce platform for your business covers when Shopify is the right call and when WooCommerce, Squarespace or Wix make more sense.
* read the rest of the post and open up an offer